RNGAdopts - first Django app & learnings
In December I quit my old job and started hunting for new opportunities!
As part of my job search, a company requested that I add a Django project to my resume in order to be considered, so my pet project for the month was working on a little app for a friend. The entire project took about 2 weeks ☺️
The purpose of this app is to generate randomized adoptable pets for the gacha adopt community via a Discord bot. The following tech stack & features were included —
- Easy Docker compose setup so server hosts can pop a server up with little to no fiddling
- Django REST API for backend (using Django Rest Framework)
- React/Tailwind/Flowbite for the frontend (I haven’t used React in awhile so this was fun!)
- Discord login (using allauth)
- Image manipulation (using Pillow)
- Discord bot integration (using discord.py)
🗺️ App overview
The application is broken up into two parts:
Admin web panel
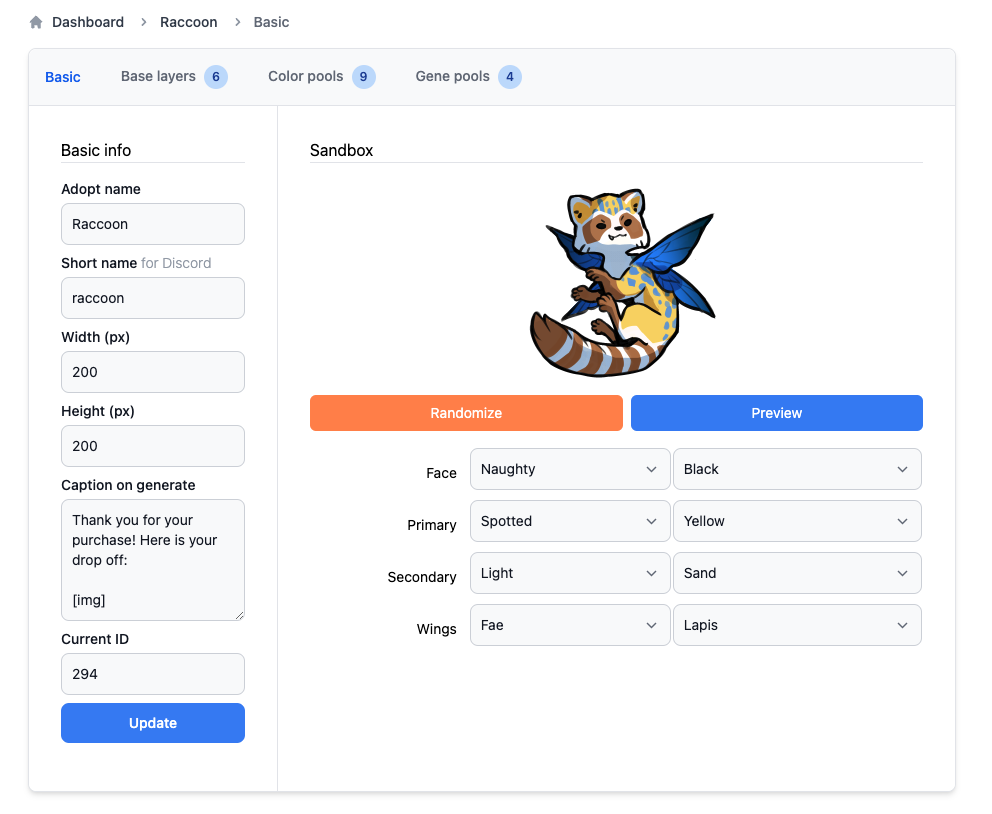
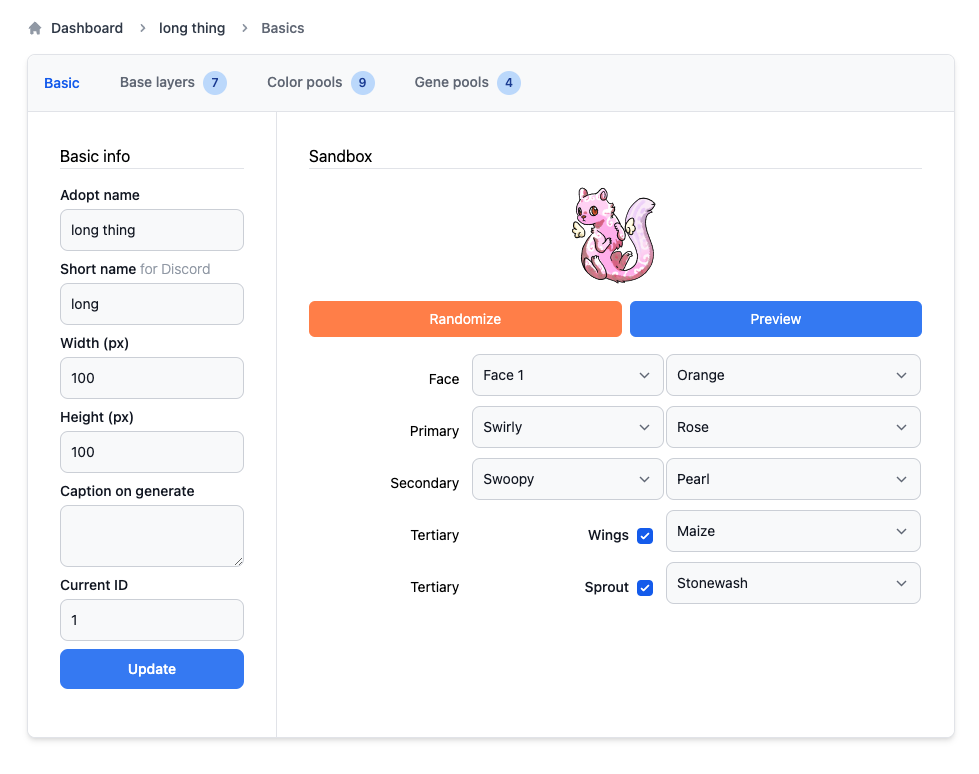
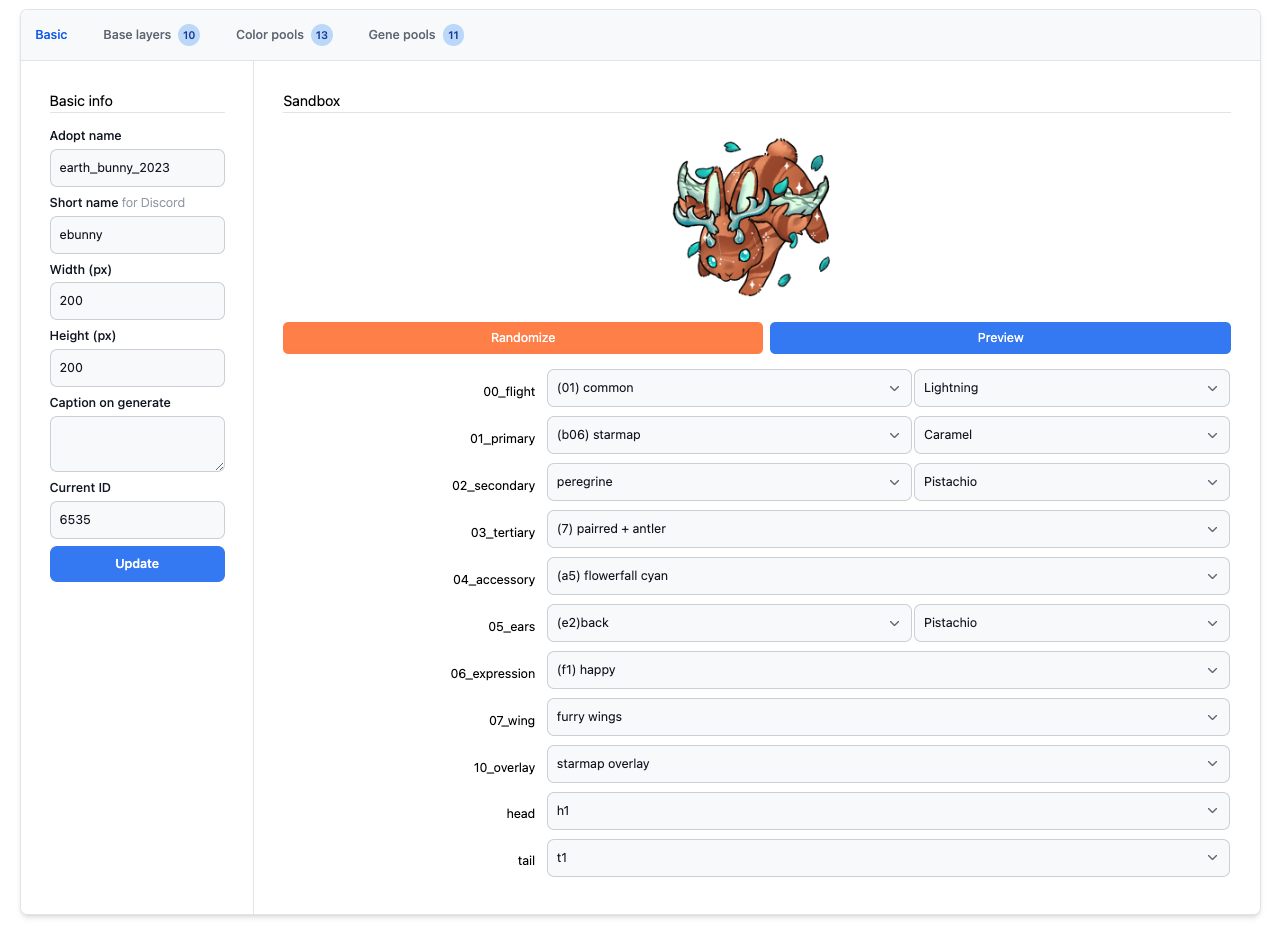
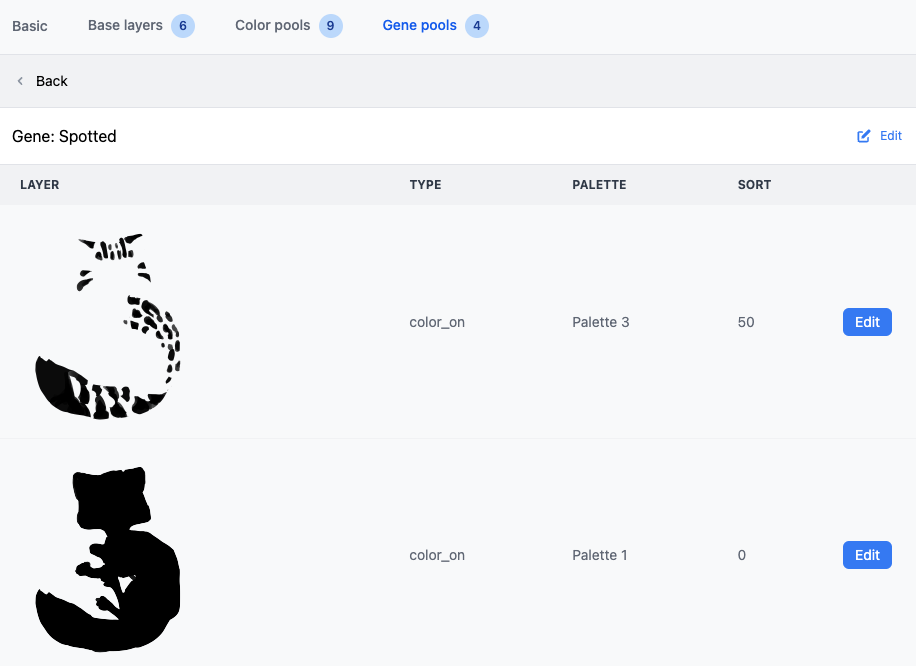
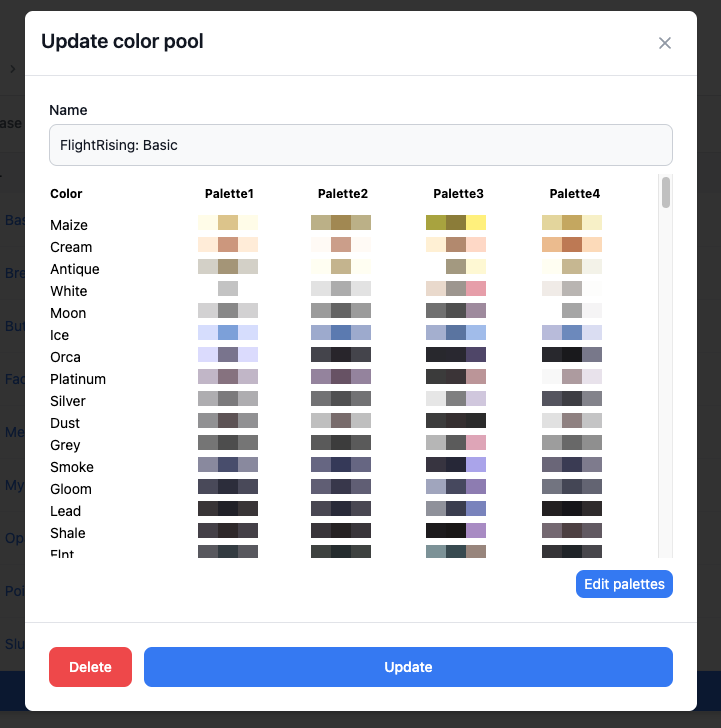
The user is able to log into an admin panel using their Discord account and configure an adoptable pet. Configuration requires the user to upload image files for every pet layer, and configure the possible colors for the pet. Client documentation is also provided.
Discord bot
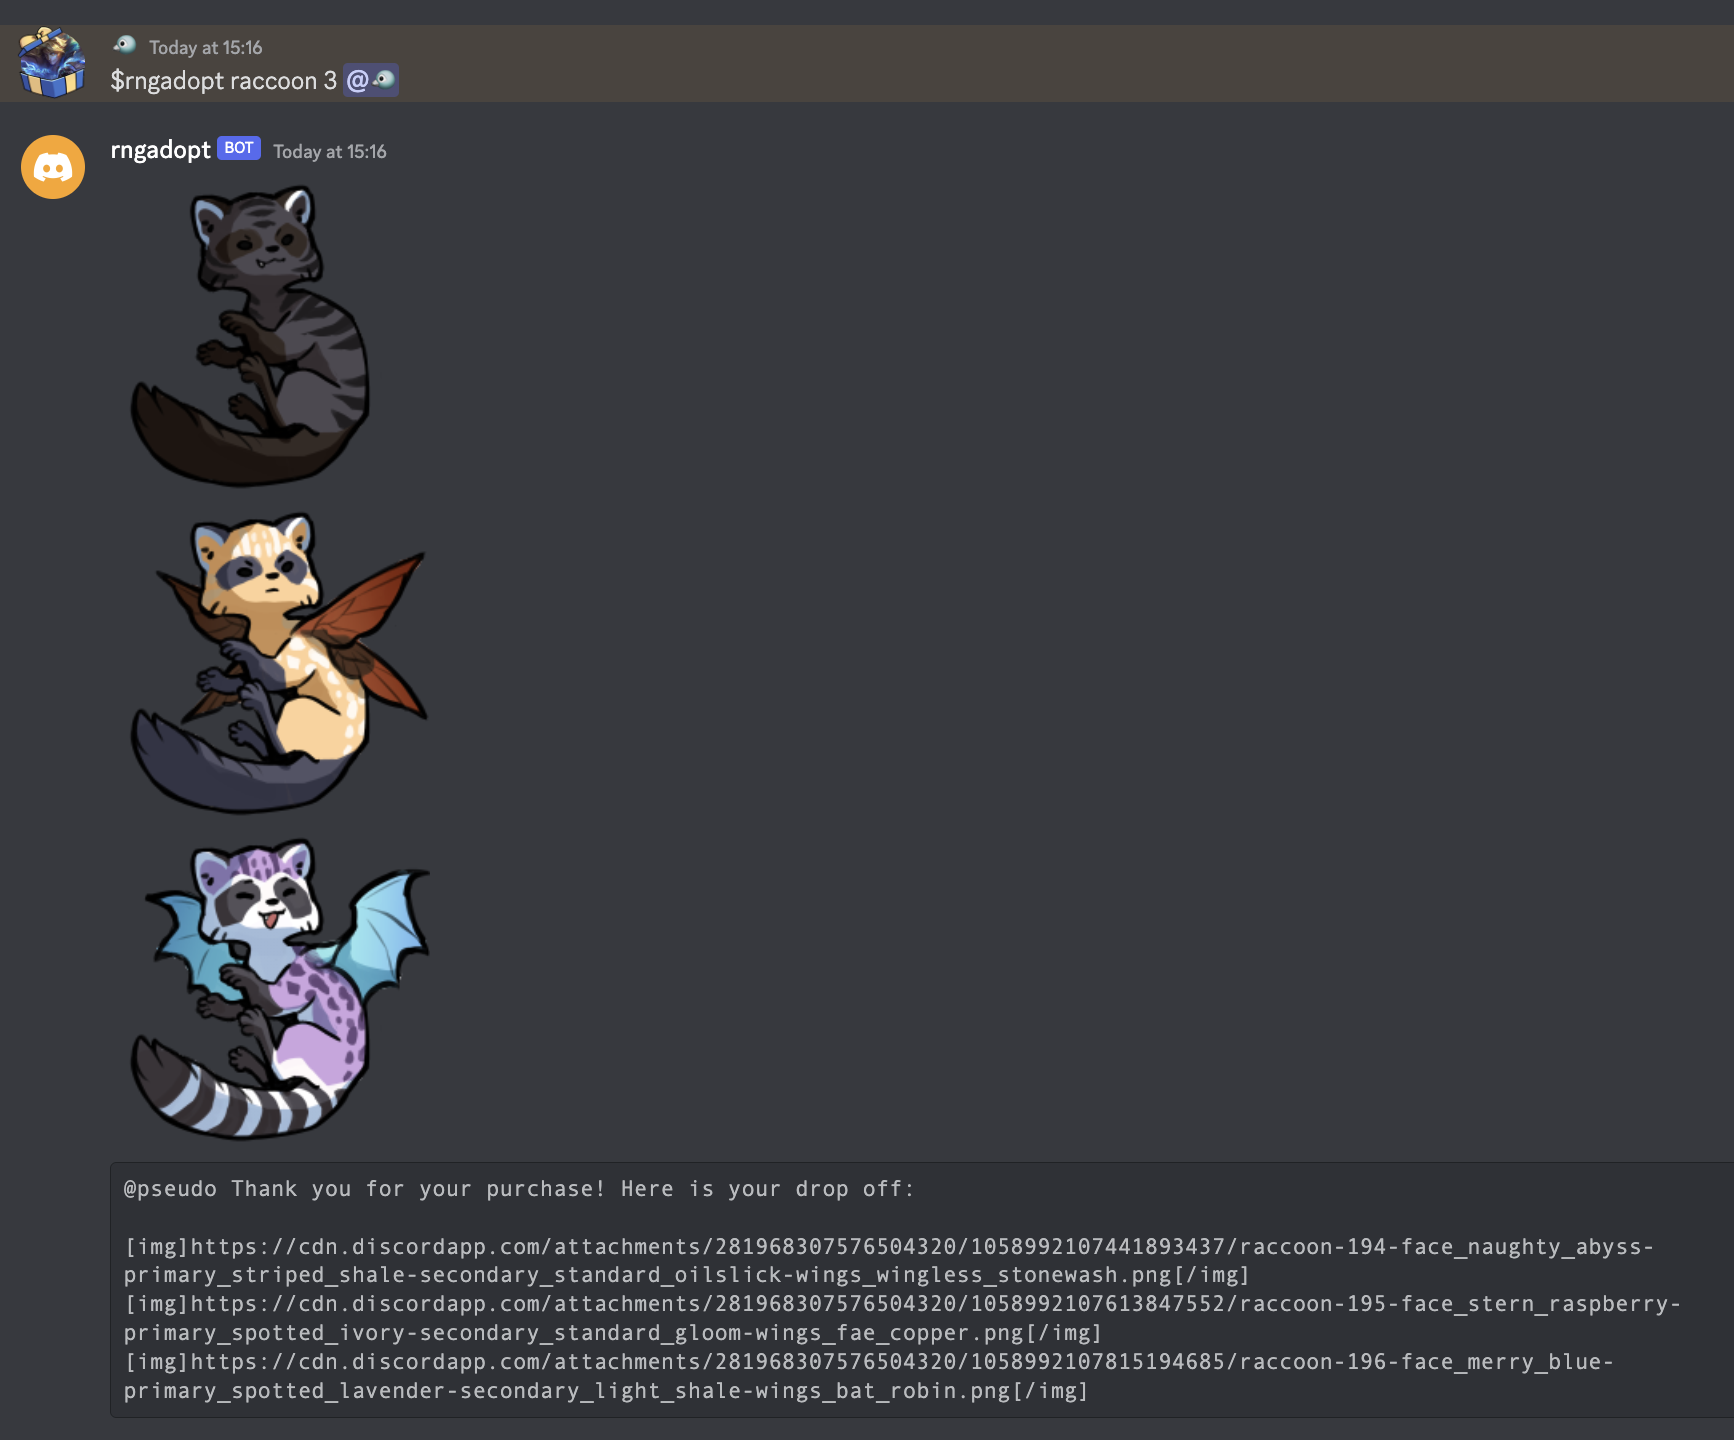
The user is able to use a Discord bot to generate random adoptable pets for their customers.
The image files for this pet are generated based off of the image files and colors provided via the admin panel.
💫 Interestings
The web application was a simple CRUD application and the Discord bot was also a very straight forward out-of-the-box set up with discord.py, so I think the most interesting parts of the application were:
- The gene randomization step for adoptable pets (the script responsible for determining what color and what markings the pet has, eg. if they are spotted or striped)
- The image generation step for the artwork (the script responsible for generating the final image which the Discord bot will upload)
The logic for both of these steps can be found in adopt_gen.py — 👉 rngadopts/adopt_gen.py
The high level overview of how the image generation works is outlined in the client documentation. The simple step by step summary is as follows —
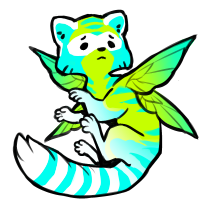
Step 1
Generate the base image
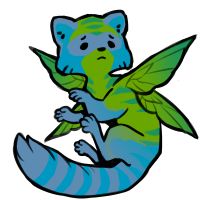
Step 2
Generate the shadows.
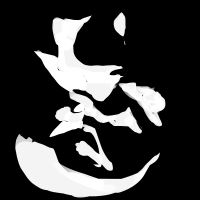
Step 3
Generate the shading mask
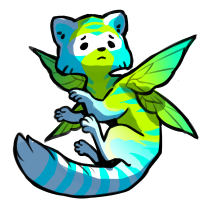
Step 4
Mask the shadows using shading mask and overlay it onto the base
🌟 Learnings
I wrote a few blog posts about my Python/Django journey!
Overall I thought it was a very interesting exercise, and I had a lot of fun with it. Changes that I’d like to make if I were to make another Django app:
- I didn’t like having the app folders everywhere. I’d like to combine them into a single domain folder for business logic. This is an approach described by Octopus Energy’s James Beith which was recommended to me, and is also rather similar to the approach to that recommended in the Laravel ecosystem by Spatie’s Laravel Beyond Crud.
- I dislike having so much logic coupled to the model/serializer classes. This codebase includes serializers that are responsible for validation, sanitization, display, and in some cases even database insertion logic. To my understanding this is conventional for Django REST Framework, but it makes these files a mess. I was considering the idea of separating serializers out into read serializers vs write serializers.
